
AgentX Voice - Quick Start Tutorial
Bring your agent to life with AgentX Voice. Enable natural-sounding voices in multiple languages and tones, add a custom welcome message, and embed the voice widget directly on your website.
Bring your agent to life with natural, selectable voices. Follow these steps to enable, configure, and embed the Voice widget on your site.
Setting up AgentX Voice Profile
1) Enable Voice in Deploy
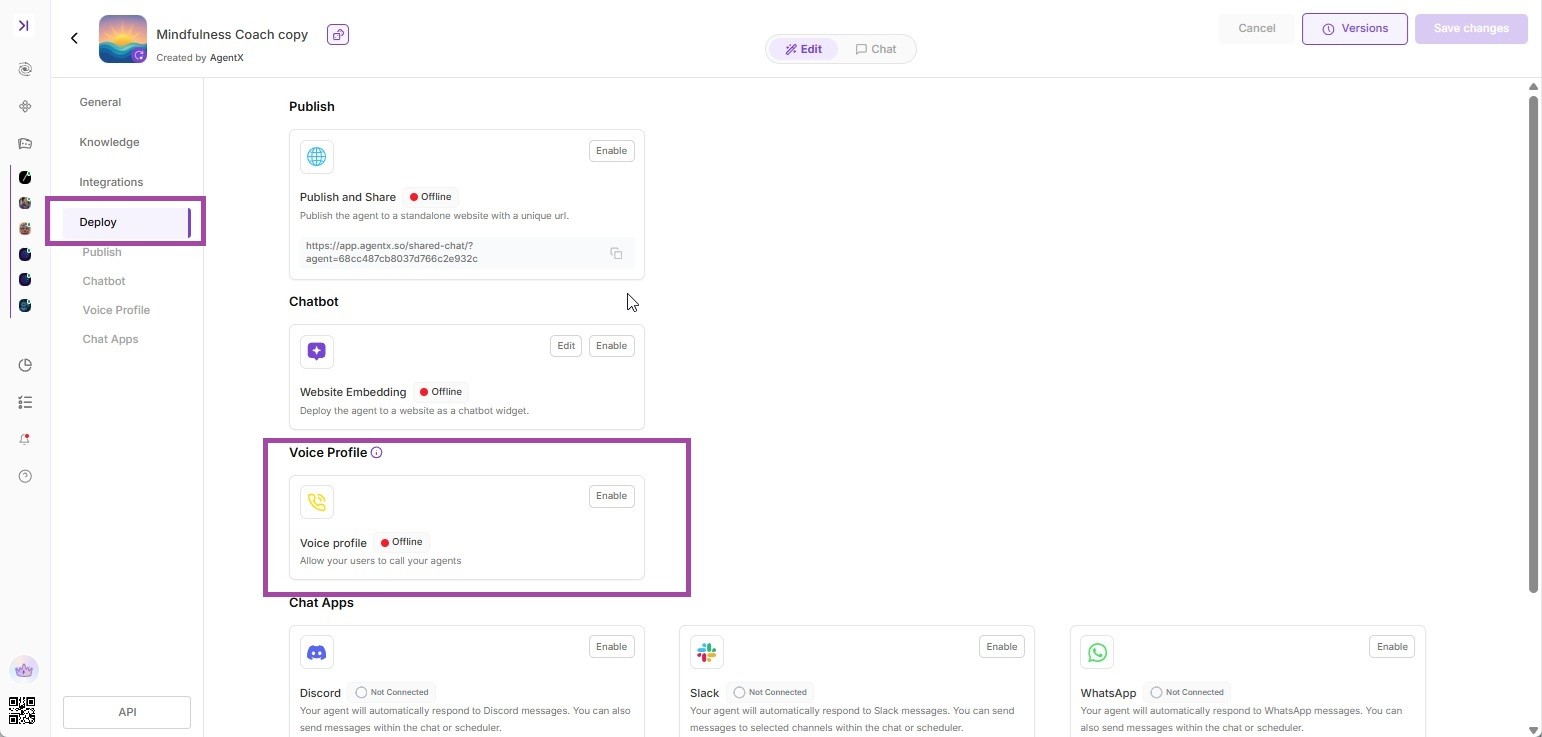
Open your Agent's Edit Panel and go to → Deploy section.
Find the Voice Profile tile and toggle Enable.
2) Choose Language & Voice Tone
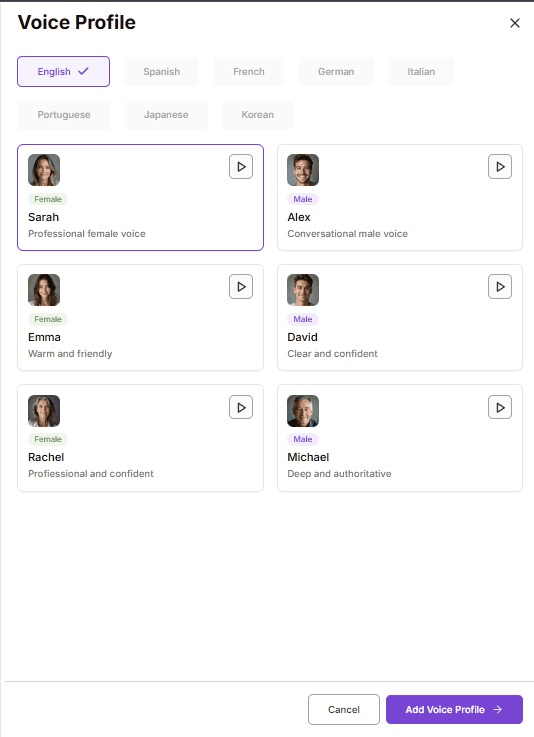
When adding a profile, set:
Language: English, Spanish, French, German, Italian, Portuguese, Japanese, or Korean.
Voice & tone: Pick from the gallery (e.g., Sarah - professional, Alex - conversational, Emma - warm, David - clear, Rachel - confident, Michael - deep).
3) Save, then Edit the Profile
Select "Add Voice Profile" and after creating the profile, click Edit to configure:
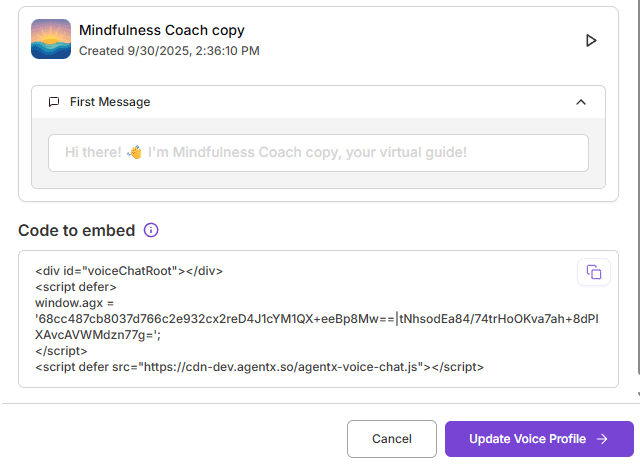
A. Welcome message
What the agent says first when the widget opens. Keep it short and on-brand.
Examples
“Hi! I’m your AgentX assistant. Want a quick product tour?”
“Hola, soy tu asistente. ¿Prefieres español o inglés?”
B. Embedding (copy snippet)
You’ll see a Code to embed section with a copy button. This provides your site snippet tied to the selected voice profile.
4) Embed the Voice Widget on Your Website
Paste the embed code from Deploy → Voice → Embed into your site
Pro tips
Multiple voices: Create profiles for “Sales (warm)”, “Support (clear)”, or “Executive brief (authoritative)” and route by page or campaign.
Brand tone: Align the chosen voice with your brand guidelines (friendly vs. formal).
