
How to Create Workflows in AgentX
Learn how to build powerful Workflows in AgentX - set triggers, run agents automatically, and add advanced steps like Conditions, Parallel branches, Transforms, and Human-in-the-Loop reviews. No code required.
Workflows are one of the most powerful features on the AgentX platform - they let you automate agent tasks using triggers, actions, and advanced conditional logic. In this tutorial, you'll learn how to build a workflow from scratch, configure each step, and run a test before going live.
Step 1: Navigate to the Workflows Section
In the left navigation sidebar, click Workflow. This opens the Workflows page showing all workflows in your workspace.
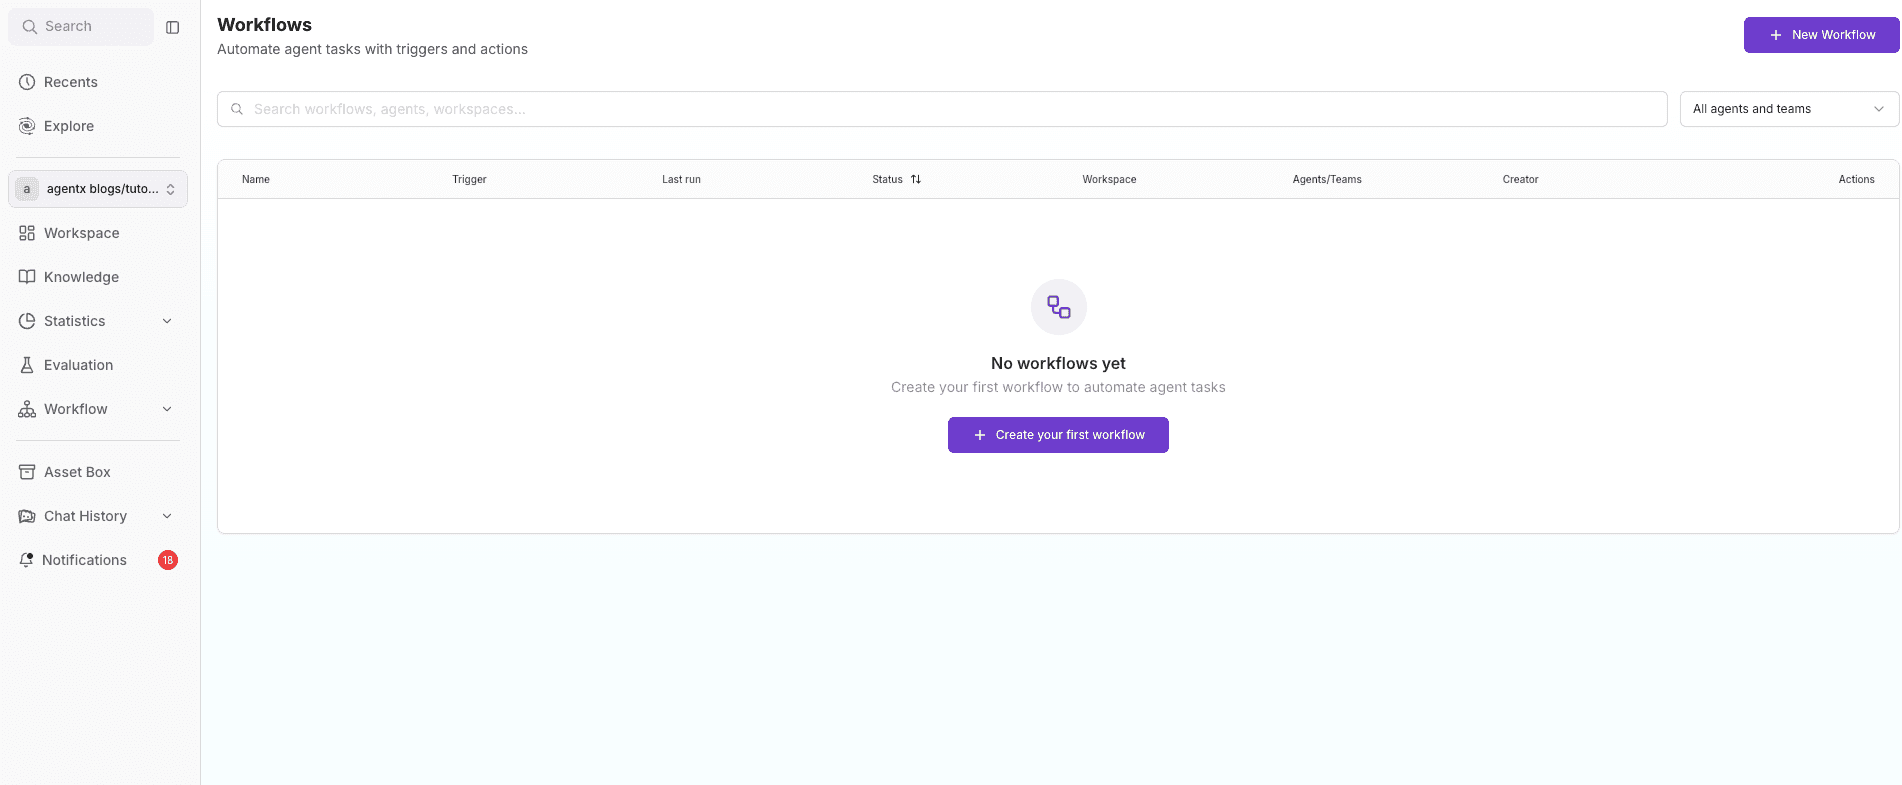
If you haven't created one yet, you'll see an empty state with the message "No workflows yet." Click the purple + Create your first workflow button - or + New Workflow in the top-right corner - to get started.
Step 2: Configure the Trigger
After clicking Create, the workflow editor opens - a canvas with two default nodes: Trigger and Run Agent / Team.
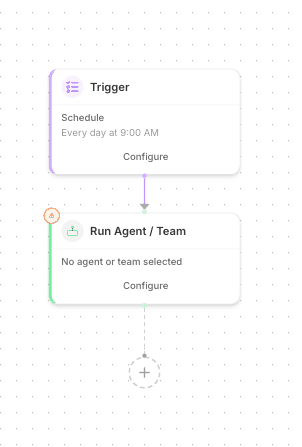
Click Configure on the Trigger card to open the configuration panel on the right. Choose your trigger type:
Schedule - runs the workflow automatically on a set schedule
Webhook - fires the workflow via an incoming HTTP request
Email - triggers the workflow when an email is received
Social - triggers the workflow through social media channels

If you select Schedule, set:
The interval (e.g. Daily)
The time (e.g. 9:00 AM)
The timezone (e.g. CET - Berlin/Warsaw)
Step 3: Configure the Run Agent / Team Step

Click Configure on the Run Agent / Team card. In the right-side panel:
Select the agent or team to run (e.g. Image Generator, GPT 5.5, your own agent)
In the Message field, type the instruction for the agent - what it should do when triggered (e.g. "generate an image with a chart for the daily euro dollar exchange rate")
Optionally enable the Create new conversation each time toggle if you want each run to start a fresh conversation
Step 4: Add More Steps

Click the + button (Add a step) below the last node on the canvas. The ADD A STEP modal will appear with the following options:
Agent / Team - runs another agent or team as the next step
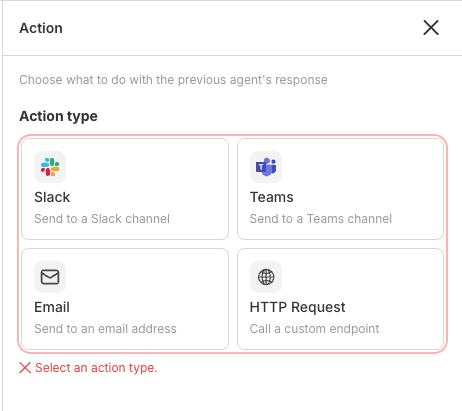
Action - performs an action with the previous agent's response. Available integrations:
Slack - send to a Slack channel
Teams - send to a Teams channel
Email - send to an email address
HTTP Request - call a custom endpoint
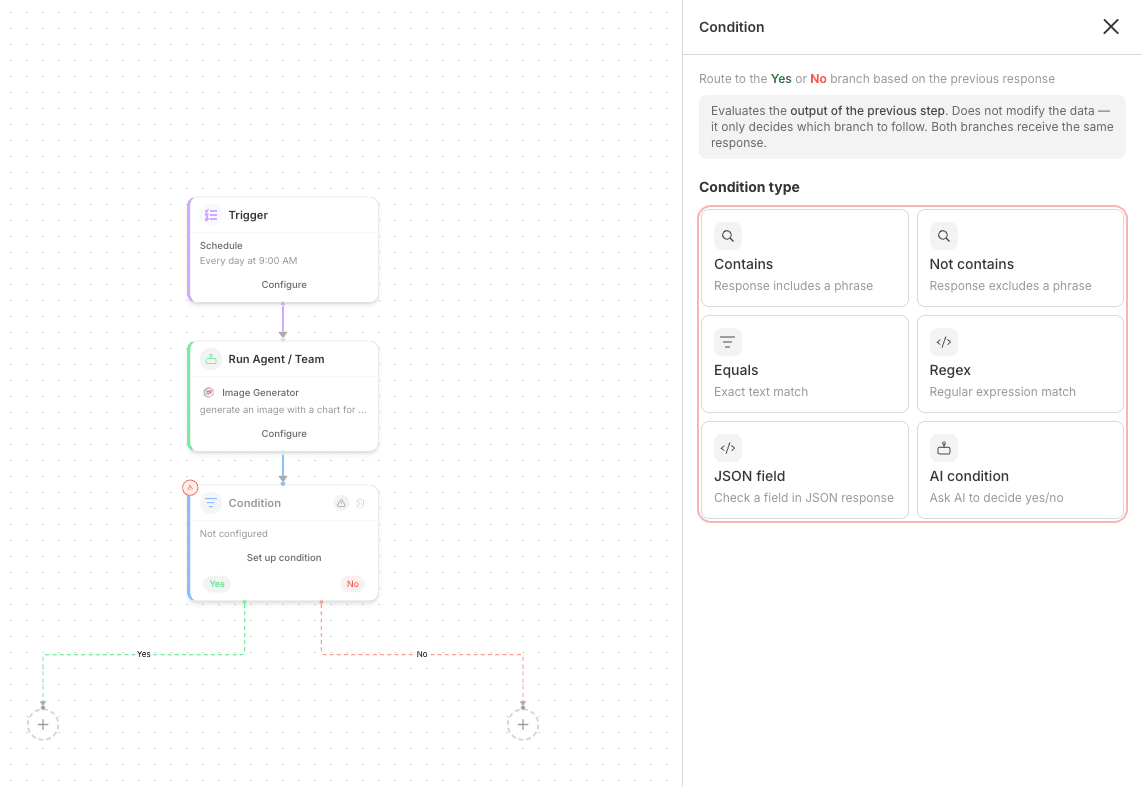
Condition - branches the workflow into a Yes or No path based on the previous step's response. Condition types:
Contains / Not contains - checks for the presence or absence of a phrase
Equals - exact text match
Regex - regular expression match
JSON field - checks a field in a JSON response
AI condition - lets AI decide yes or no
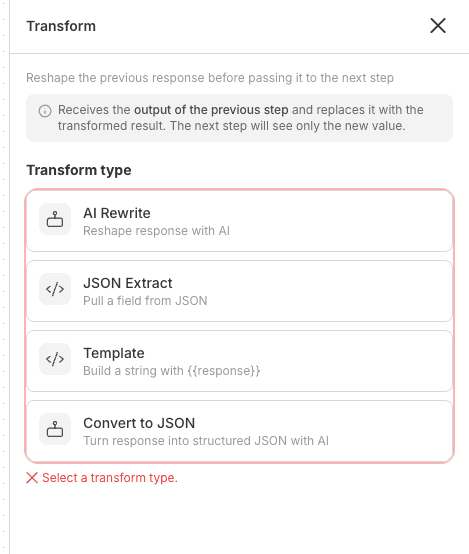
Transform - reshapes the response before passing it to the next step:
AI Rewrite - reformulate the response using AI
JSON Extract - pull a specific field from JSON
Template - build a string using
{{response}}Convert to JSON - turn the response into structured JSON using AI
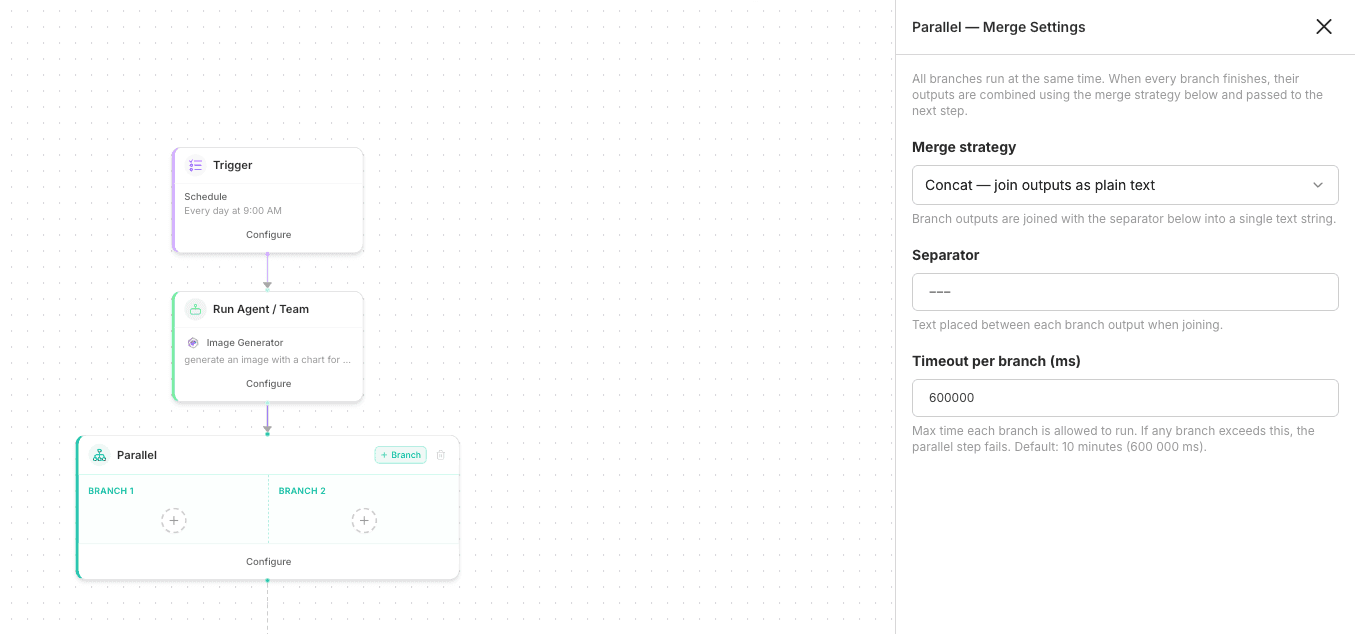
Parallel - runs multiple branches simultaneously (BRANCH 1, BRANCH 2, etc.), then merges the results using a chosen strategy (e.g. Concat). Add more branches with the + Branch button
Human-in-the-Loop - pauses the workflow and waits for a manual decision from a reviewer. Configuration includes:
Step title - name of the review step
Instruction - what the reviewer should do
Response type - e.g. Approve / Reject
Assignee emails - who to notify
Response timeout - optional time limit

Step 5: Test Your Workflow
Before saving, click Test Run in the top toolbar. In the modal you'll see:
The trigger type (e.g. Schedule)
An optional Message override field - use this to replace the default message for this test only
Click Run Test to execute the workflow immediately. Results will appear in the Logs tab, tagged as test-run.
Step 6: Save and Activate Your Workflow
Once everything is configured, click Save in the top-right corner. Your workflow will appear on the Workflows list with an Activated status (green pill).
The list displays all key details at a glance: name, trigger type, schedule, assigned agent, workspace, and creator. Use the three-dot menu under Actions to manage, edit, or delete any workflow.

Pro Tips
Use the Condition step with AI condition when your branching logic is complex and hard to express as a simple text rule
Parallel is ideal when you want to send an agent's output to multiple channels simultaneously (e.g. Slack and email at the same time)
The History tab lets you review previous workflow runs - great for debugging
Add a Human-in-the-Loop step wherever an agent's output needs human approval before the workflow continues
You're all set! Your workflow is now running automatically - AgentX handles the rest. 🚀
