

AGENTX FEATURES
How to Build an AI Chatbot on AgentX in 2 minutes

🆕💡🚀 Please see an updated version of this blog here:
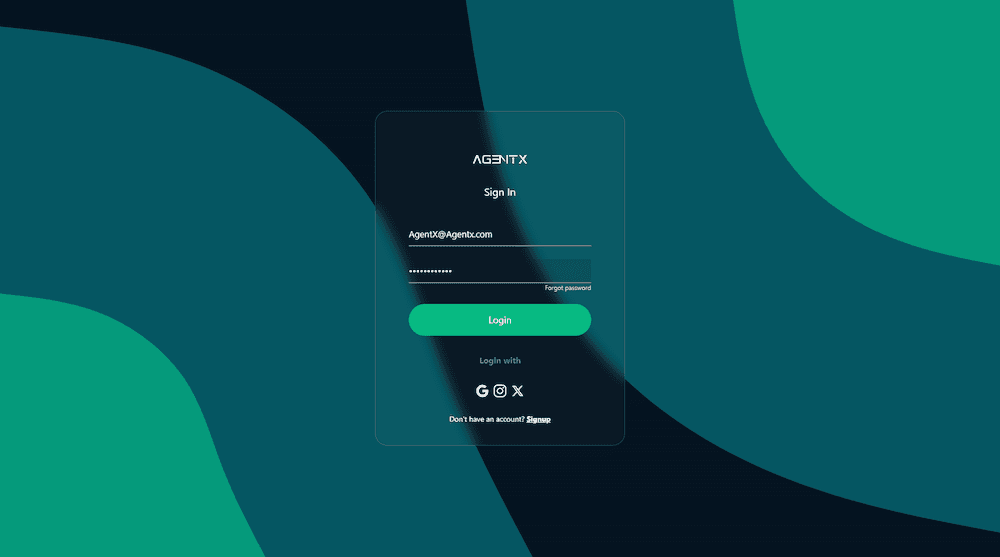
Step 1: Account Creation🖍
Sign up at AgentX and log in to your account. We offer a free plan which does not ask for your credit card 💳!
Step 2: Open An Interface To Build A Human Like Agent 👨
You will land by default on the "Agents" tab shown below. Follow the prompt to click the plus ➕ button

Step 3: Choose Agent Type 🤖
You will have a few options here. In this article, we demonstrate the Chat Agent.
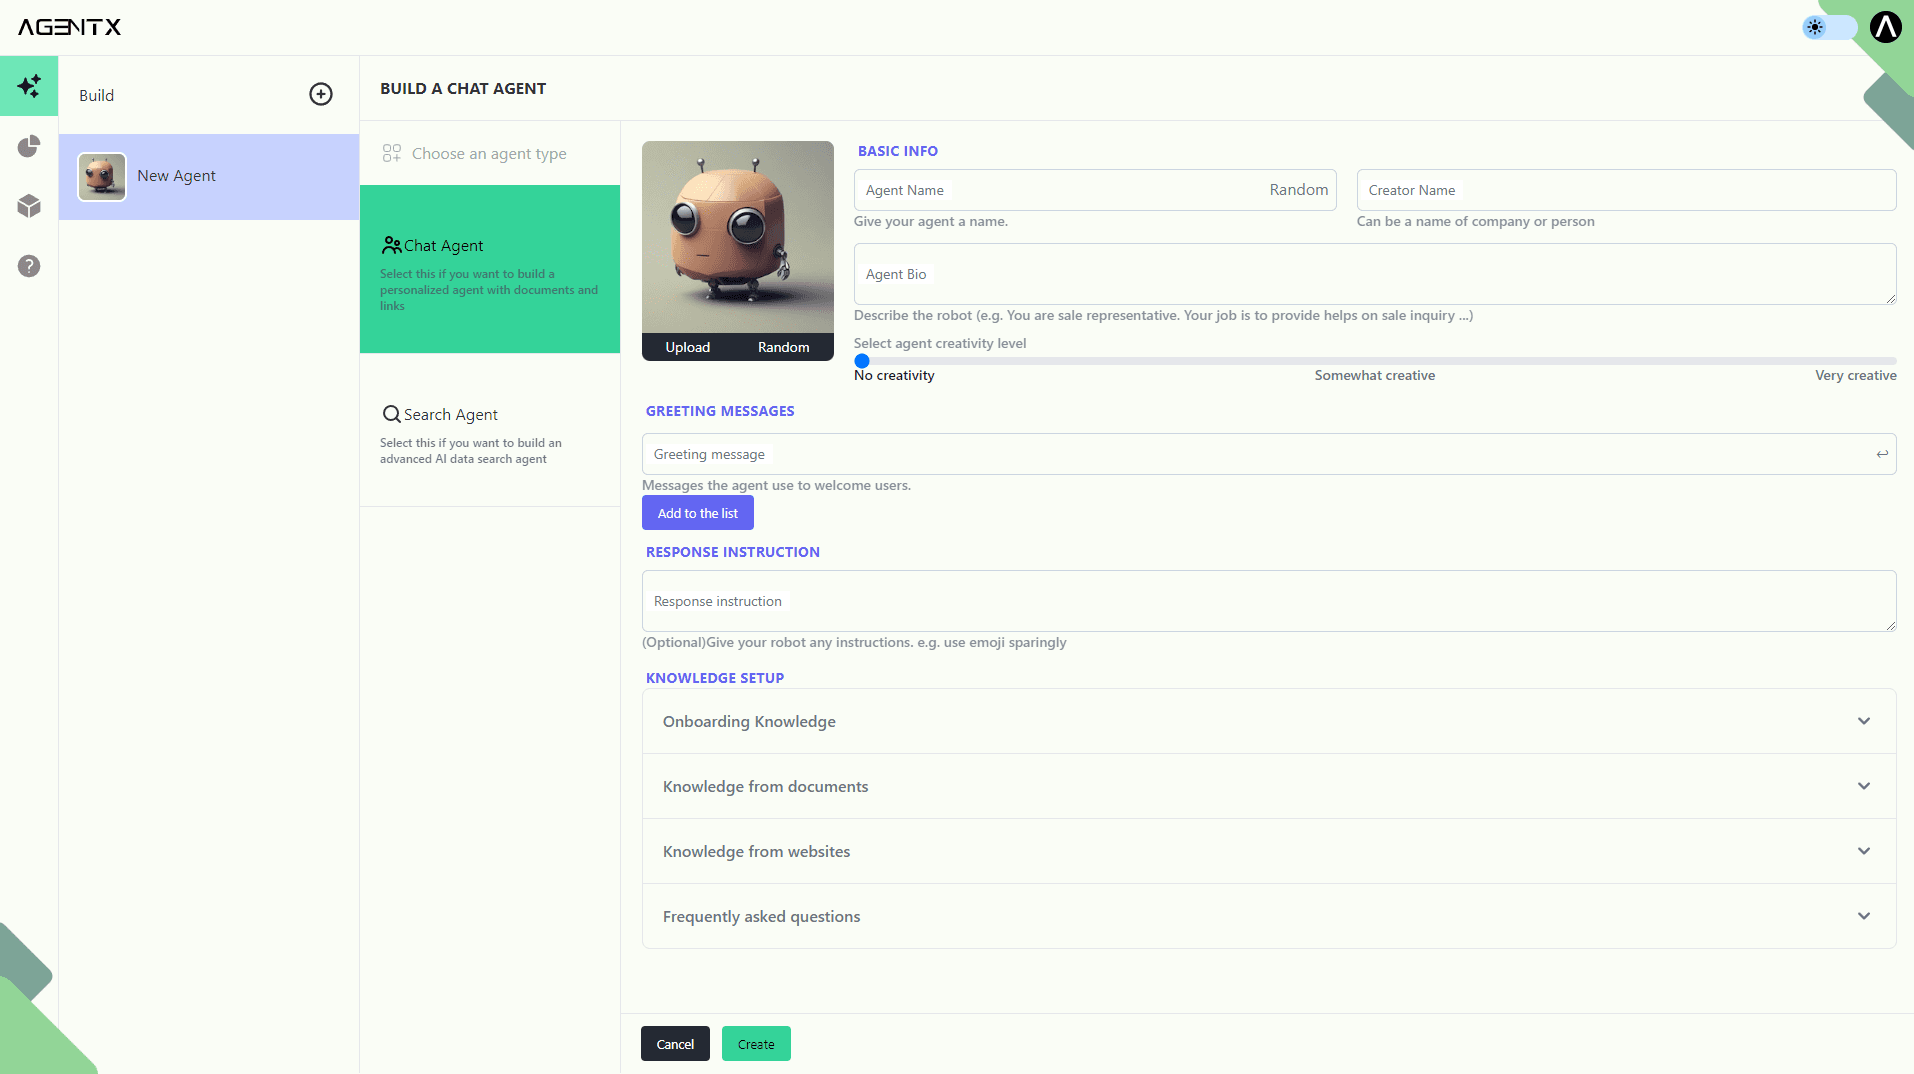
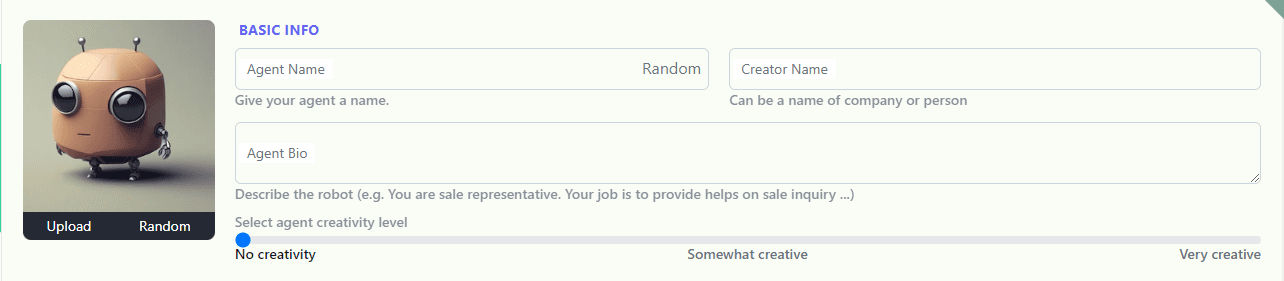
Step 4: Configure 🗒 Basic Information For Your Chat Agent (aka AI Chatbot)
1. Name your Chat Agent. Random generation is enabled.
2. You may identify the creator, whether a company or a person.
3. Write a BIO of your Chat Agent. For example, “You are a customer service representative, and your job is to answer customer inquiries.”
4 Configure the creativity level 🤯 of your Chat Agent based on your use. Greater creativity results in more variation in responses.
5. Configure the selfie 🤳 of your Chat Agent!
Step 5: Add Greetings💚
Configure self-defined greetings (Optional). Remember to click “➕ Add to the List” after entering each greeting as shown below. After that, you will see the greeting being captured and becomes removable by clicking the red “REMOVE”.


Step 6: Configure Response Instructions 📢
Set up any rules for your Chat Agent's responses. For example, to set up the response style, you may input “use emojis sparingly” here .

Step 7: 🎯Train Your Chat Agent
You have 4 ways to import knowledge to your Chat Agent:
1. Onboarding Knowledge
You may import onboarding knowledge to your Chat Agent, so that it will always remember such knowledge when answering each question.
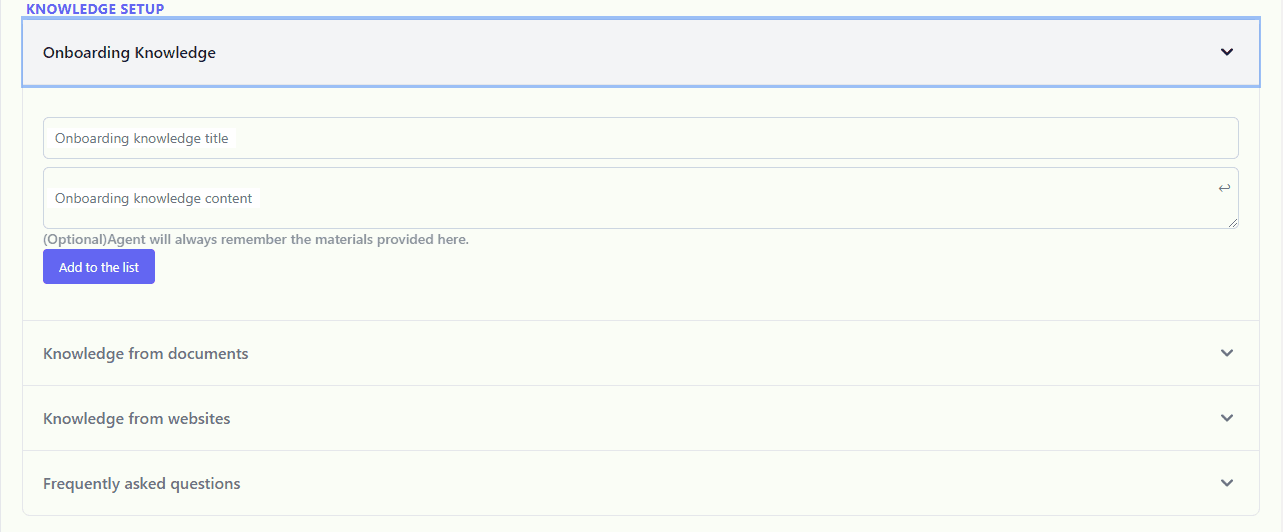
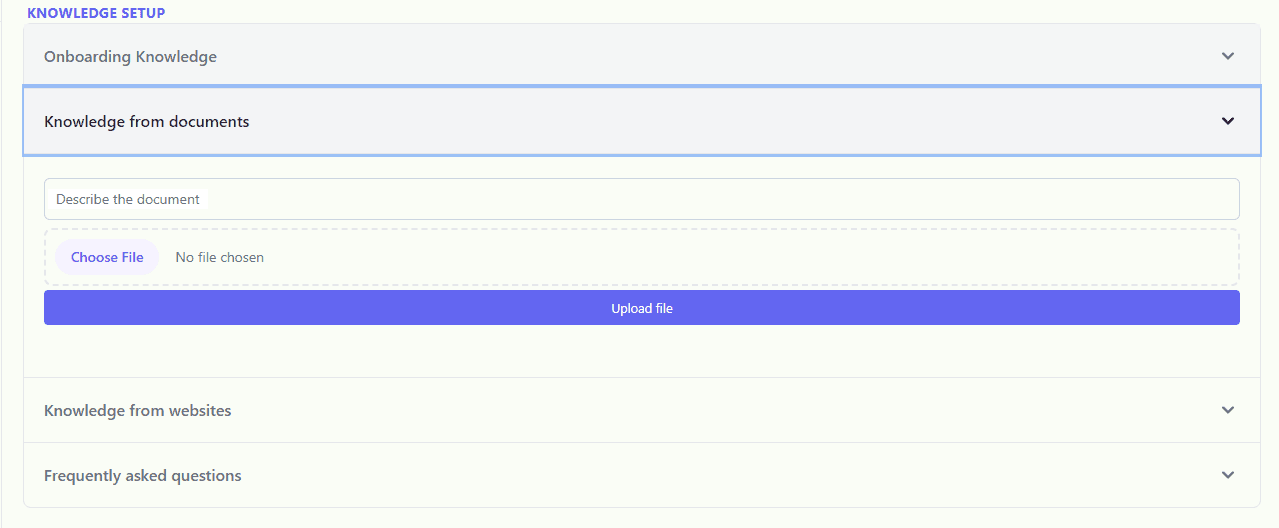
2. Document Knowledge
Upload files like word documents and .PDFs to train your Chat Agent. After choosing each file, remember to click “Upload file” to complete the upload.
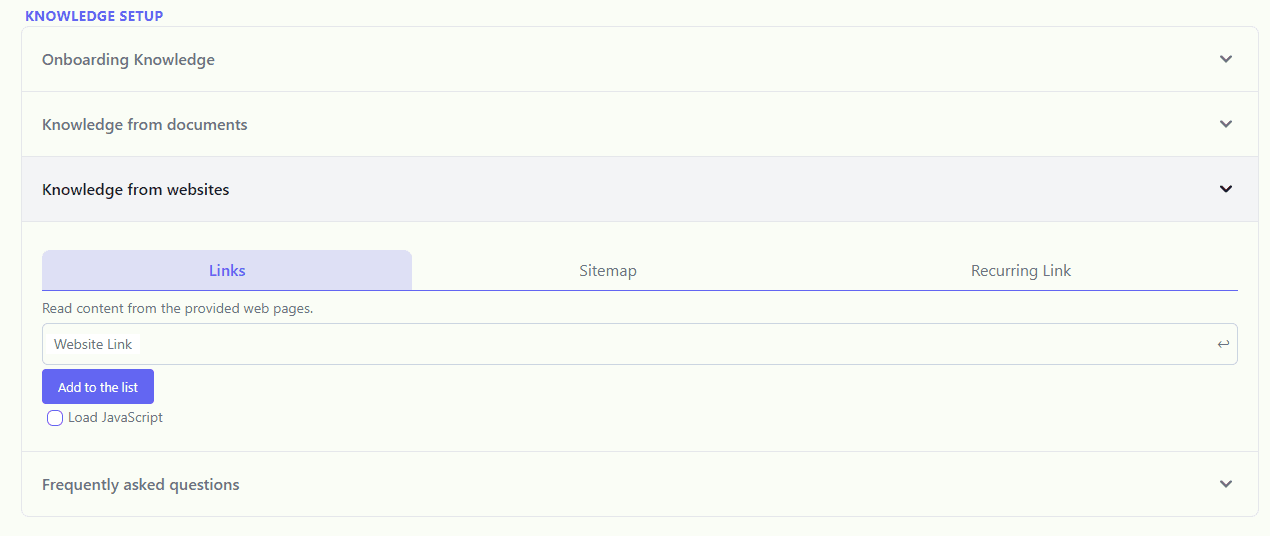
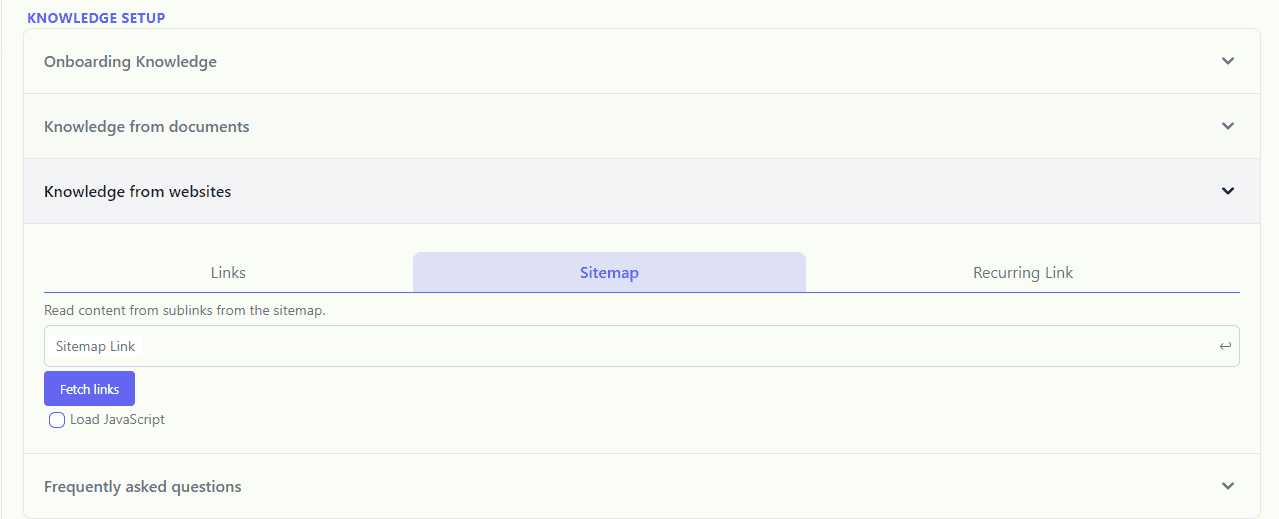
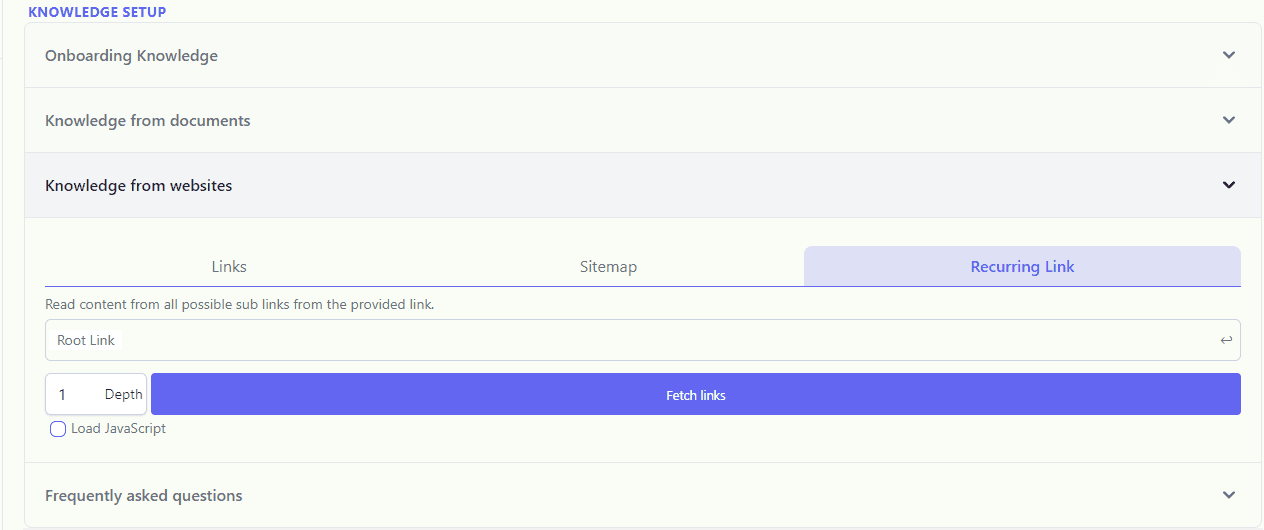
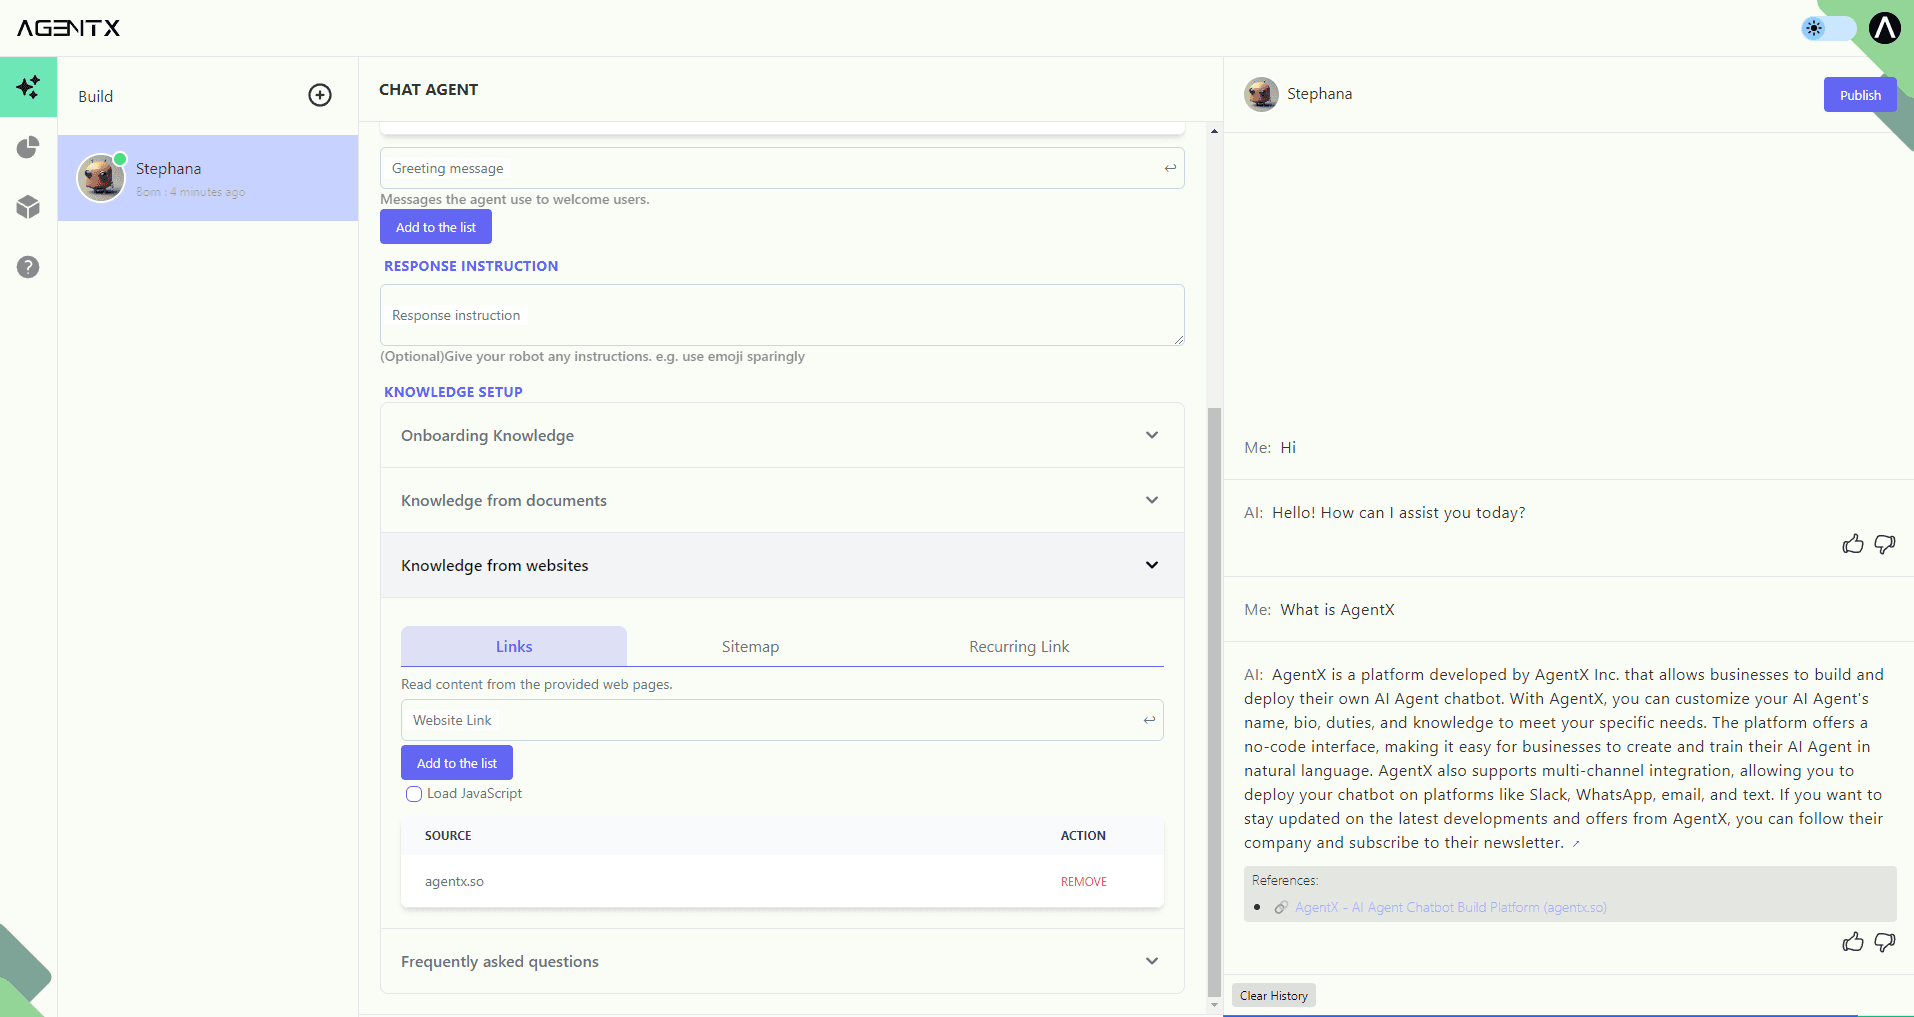
3. Website Knowledge
Train your Chat Agent with knowledge from web pages. You may:
🔗 directly add website links and click “add to the list” each time,
🔗 enter a sitemap link (e.g., https://example.com/sitemap_index.xml) and click “fetch links” to auto-capture the website links, or
🔗 adding a recurring link, which requires setting a root link and a “depth” up to value 3 and clicking “fetch links.” For example, setting “depth” to a value of 2 means capturing the primary web page of the root link and secondary web pages linked to the primary page.
For each option, you may choose to load JavaScript on each web page, which usually consumes more time for training.
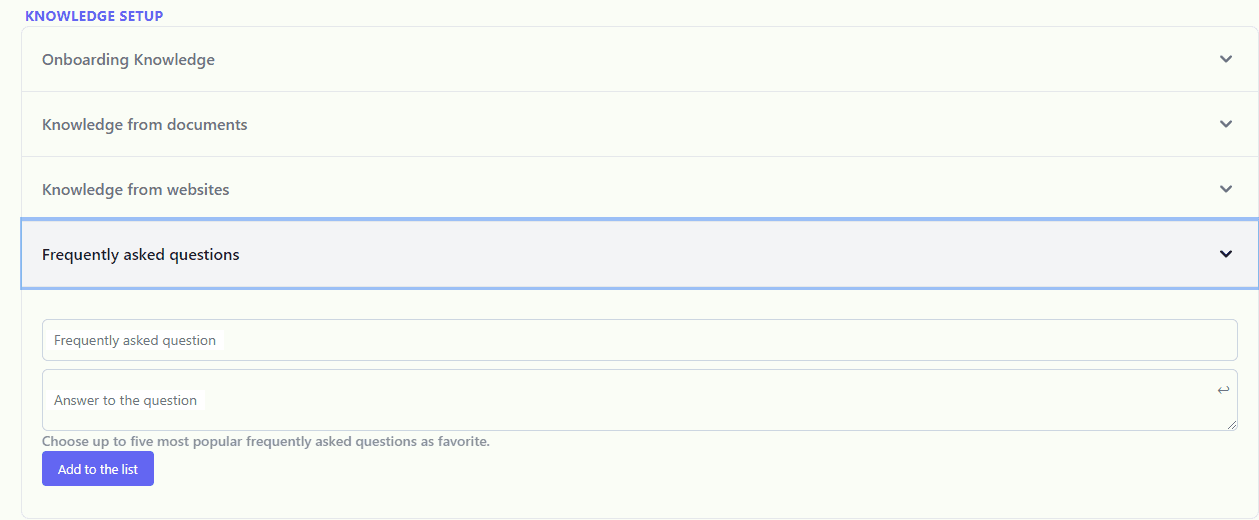
4. FAQ Knowledge
You may enter frequently asked questions and answers and click “➕Add to the list” for each pair.
Step 8: Hit “Create”
Your Chat Agent will be born in a few moments🍼, depending on the size of the knowledge imparted. After a successful build, you will see an interface like below, showing your agent on the left column, the settings in the middle column (which can be updated or deleted), and a test chat window on the right column (greetings may not be live in the test environment). Try chatting with your Chat Agent and see how accurate it is. Update your setting to modify or expand the knowledge base.
Congratulations, you have built your Chat Agent!
Next, make sure to check out our article on how to deploy your Chat Agent.
#AgentX #AI #Agent #Generator #Convert #Maker #Creator #Processor #Designer #Self-serve #OpenAI
Share Blog
Related blogs
