

AGENTX FEATURES
How to create an AI chat agent on AgentX 1.0?

Step 1: 📢 Log In
Sign up at AgentX and log in to your account. We offer a free plan which does not ask for your credit card 💳!
Step 2: Open the “Build” Page
After log in, you will land by default on the "Agent Space" page. This is the place when you can later publish your created AI chat agents. For now, hover to the top left and click the second icon from top to bring up the “Build” page.
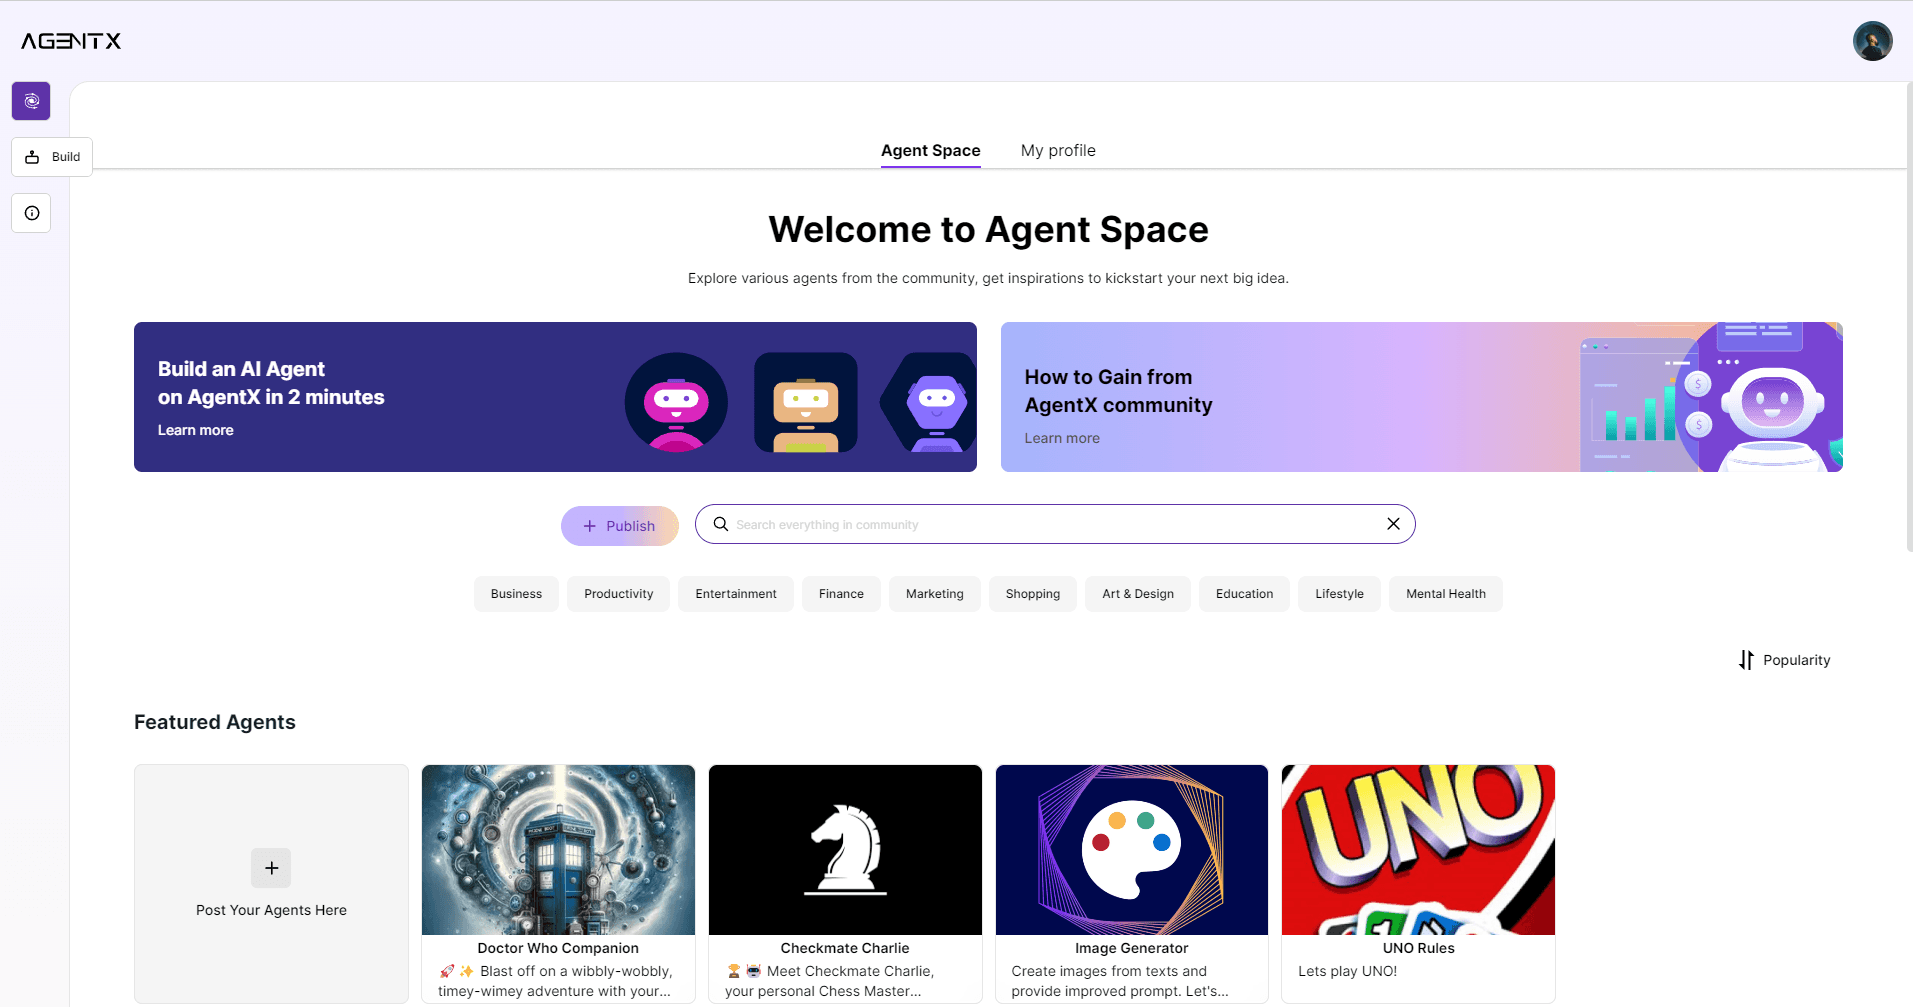
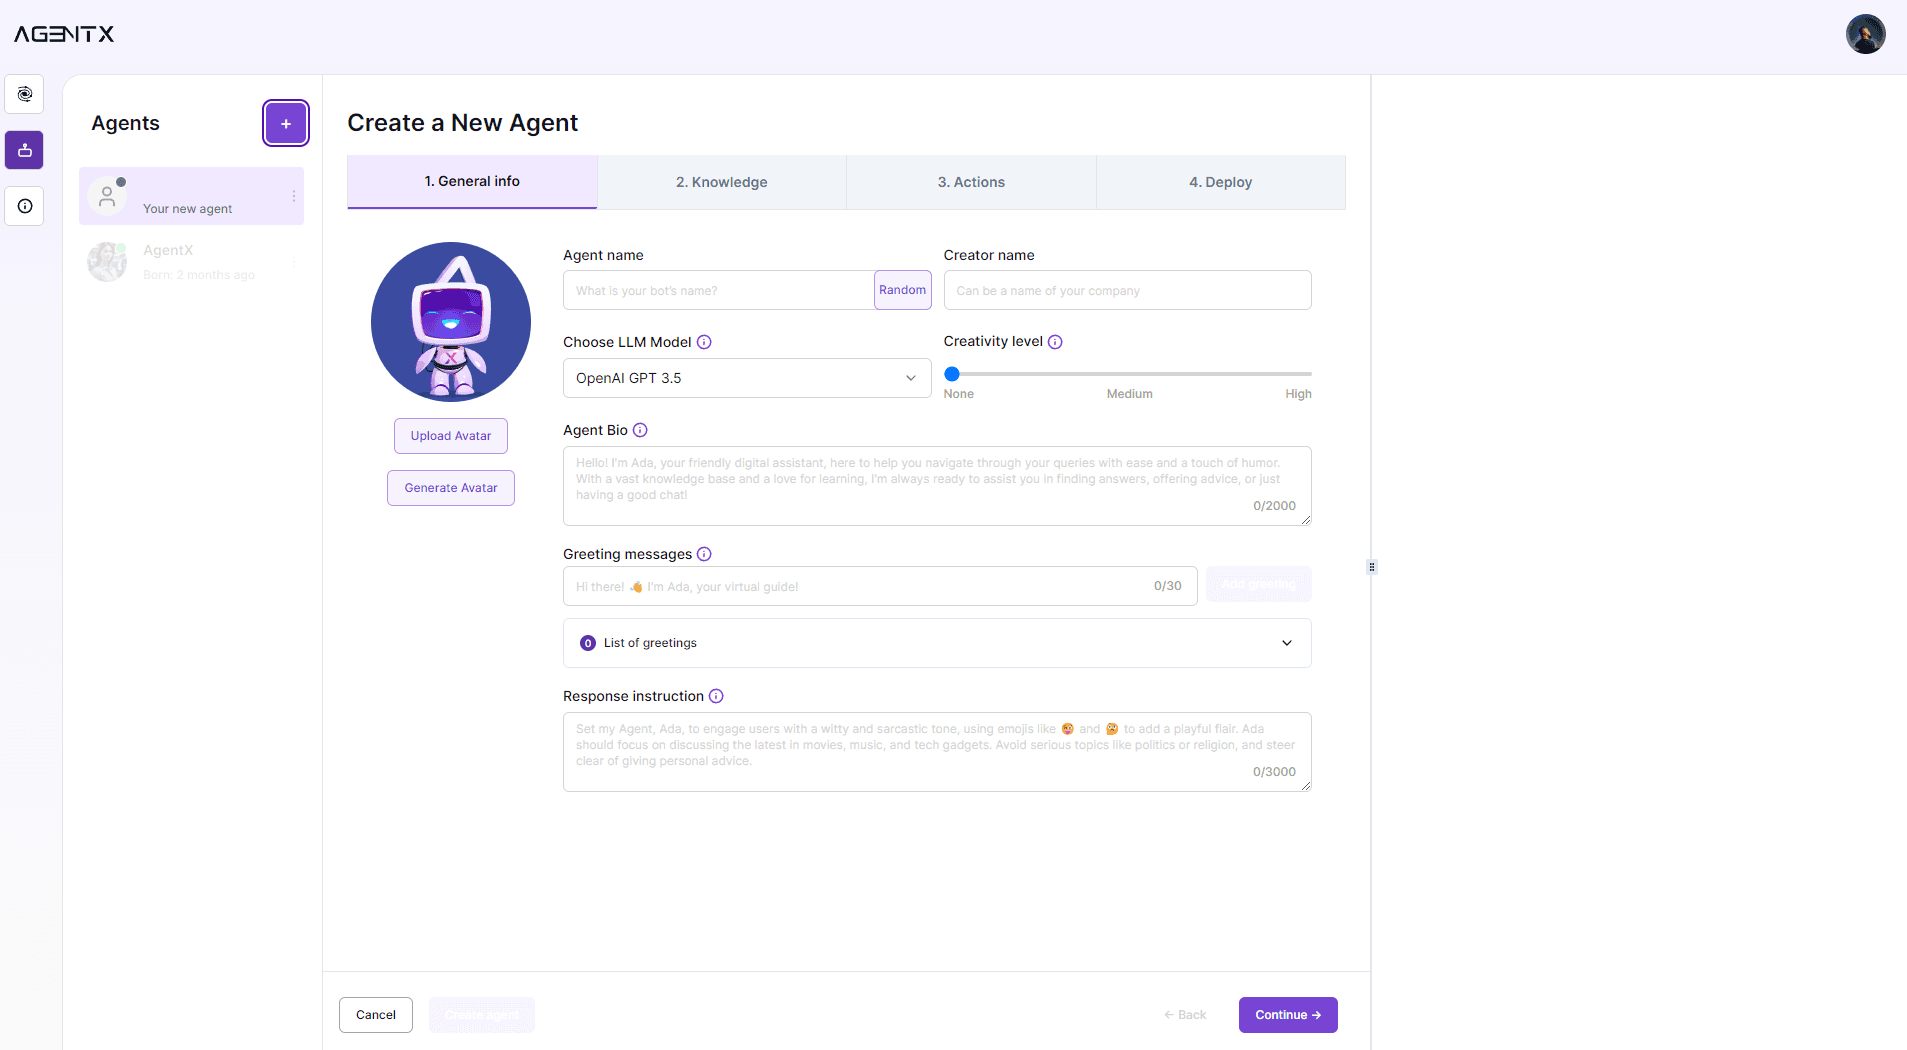
Step 3: Click the Purple + Button and Enter General Info of Your AI Chat Agent
🔸 Set up the agent name, creator name, creativity level, agent bio, greeting message, and response instruction. Hover to any exclamation mark for hints or explanations.
🔸 Pick the AI model powering your AI chat agent. Popular models include ChatGPT 4 and Google Gemini.
🔸 Don’t forget to set up the avatar!
Step 4: Train Your AI Chat Agent with Knowledge
If you need to impart domain knowledge to your AI chat agent, AgentX provides 4 ways.
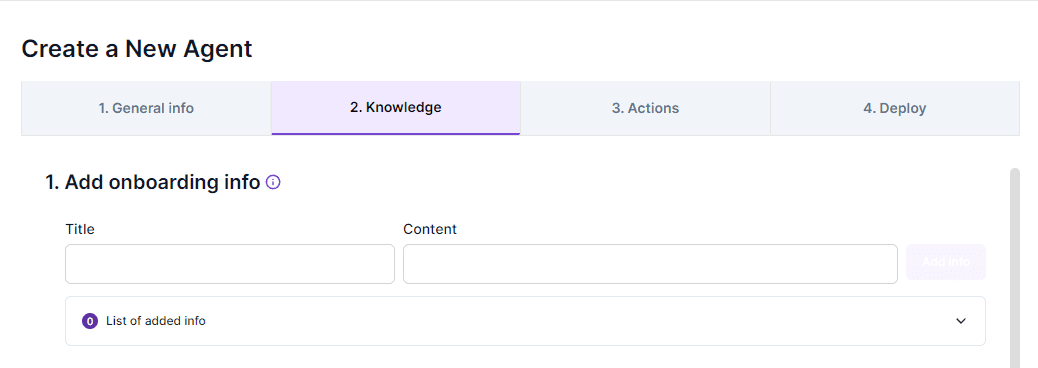
1. Onboarding Info
Your agent will always remember onboarding info when answering questions. You can add some high level information to onboarding info, such as when was company founded, what is your store's hour, what is your contact email, etc.
🔸 After entering texts, remember to click “Add Info” to complete the addition.
2. Document Knowledge
Upload files like WORD and PDF to train your AI chat agent. After choosing each file, remember to click “Upload Document” to complete the upload.

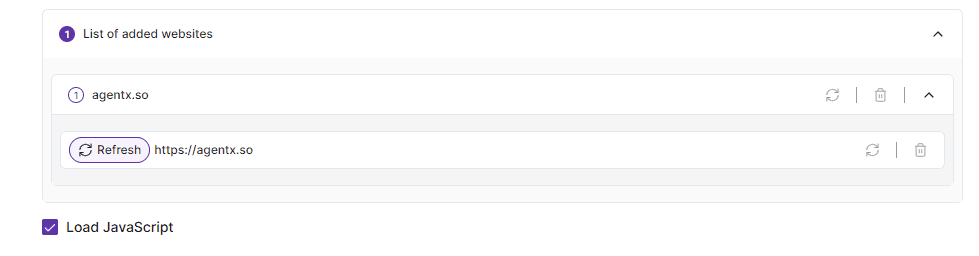
3. Website Knowledge
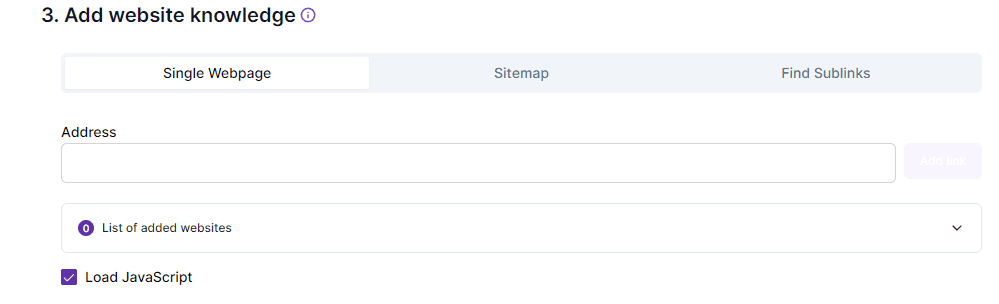
Train your AI chat agent with knowledge from web pages. Remember to click “Add links”.
🔸 Single Webpage: a single url
🔸 Sitemap: get urls from the website's sitemap
🔸 Find Sublinks: Enter a website address and let our agent to find all the links in the website. You may choose a “depth” up to value 3.
Note, setting “depth” to a value of 2 means capturing the primary web page of the root link and secondary web pages linked to the primary page. Higher depth will be slower.
🔸 Website knowledge refresh option is available to capture updates on the site.
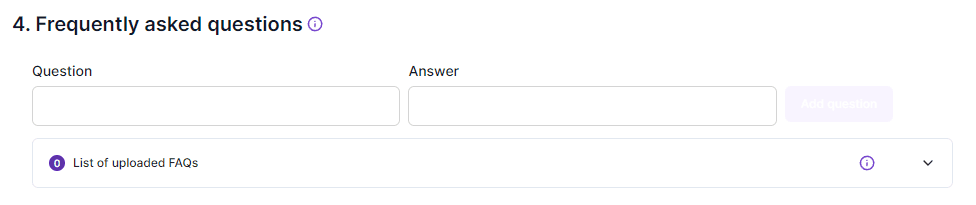
4. FAQ Knowledge
You may enter frequently asked questions and answers and click “Add Questions” for each pair.
Step 5: 📢 Configure Actions
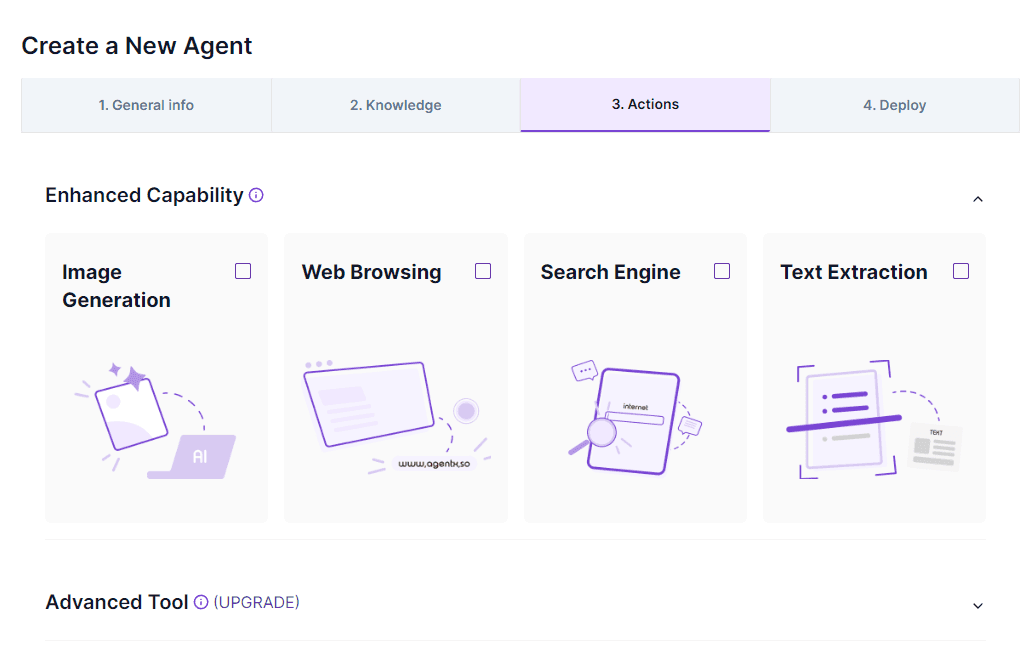
1. Enhanced Capabilities
Select enhanced capabilities for your AI chat agent, such as image generation, web browsing, search engine, and text extraction. If you would like to see more capabilities, send us a message here.
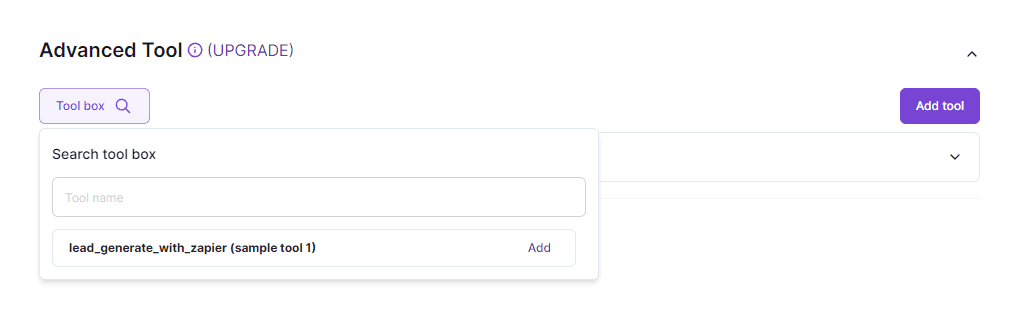
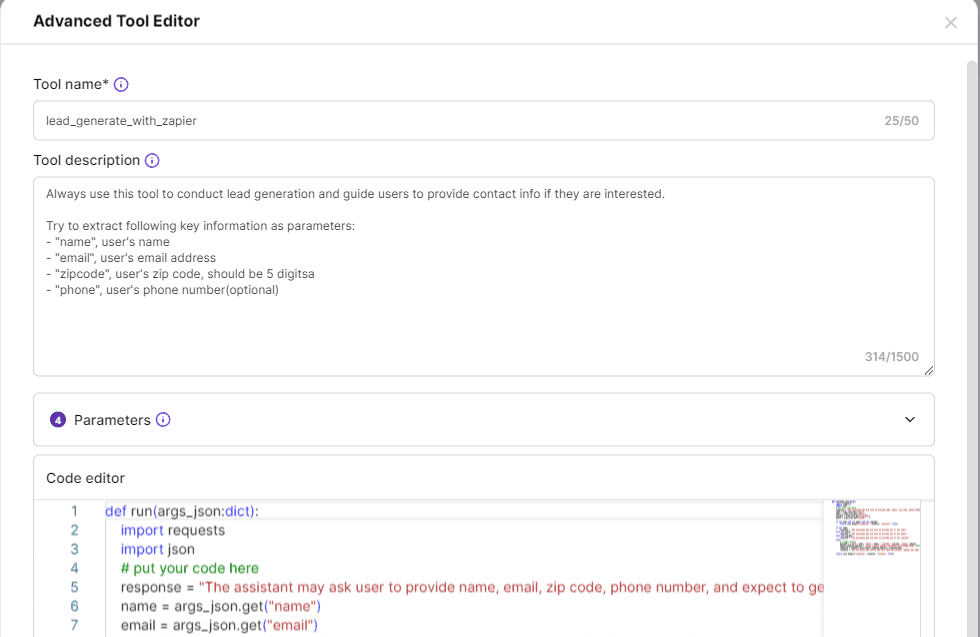
2. Advanced Tool
If you desire advanced functions such as precise response (no hallucination) and Zapier integration with your AI chat agent, select a template script or build your own script from the tool box. It allows you to define parameters for your agent and the exact actions to execute. If you would like us to build custom functions for you, feel free to contact us here.
Step 6: 📢 Create Your AI Chat Agent
Just click “Create agent” and your AI chat agent will be born in a few moments, depending on the size of the knowledge imparted.

After a successful build, you will see an interface like below, showing a test chat window on the right. Try chatting with your agent. You can share your agent or chat conversations by clicking the top right icons. Update any setting before publish.
Congratulations, you have built your Chat Agent!
Next, make sure to check out our article on how to publish your AI chat agent.
Share Blog
Related blogs