

AGENTX FEATURES
Easy Steps to Configure Branding For Your AI Agent: A Setup Guide

AgentX New Features
Welcome to the digital era where Artificial Intelligence (AI) isn't just a buzzword, but a pivotal part of enhancing user interactions and functionalities in various applications. Continuous innovations at AgentX take your AI agent to the next level. Here are three newly added features:
🔥 Your AI agent can now display images in chats.
🔥 Your AI agent can now display URLs in chats.
🔥 You can now configure branding for your AI agent.
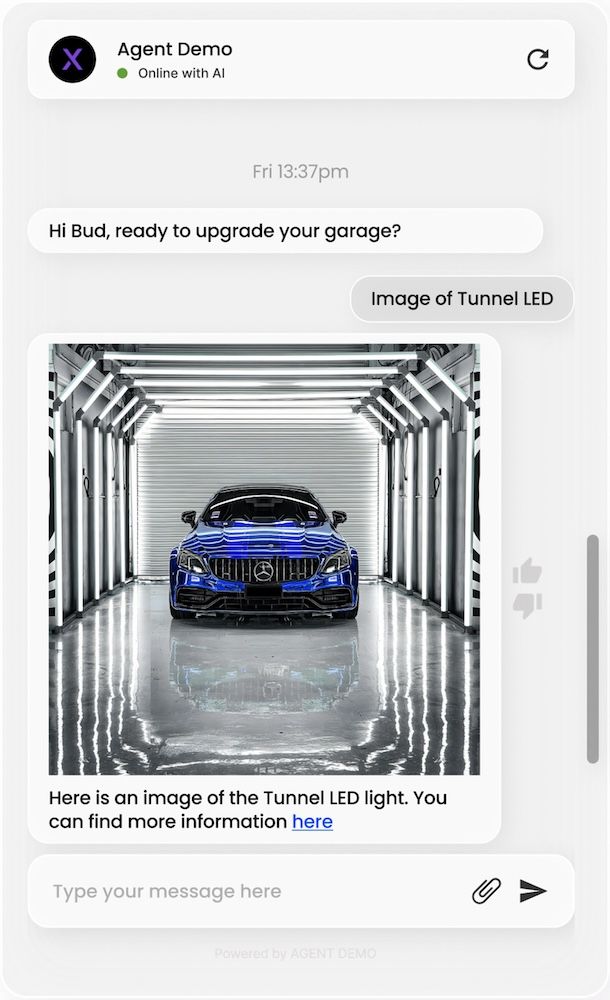
Here's how it will look in a real E-commerce example (with logo and brand name masked). This AI agent is deployed on a Shopify website. With easy configuration from AgentX, it's able to show images and URLs in chat conversations. Furthermore, the “Powered by” tag at the bottom of the chat window can be configured to your own branding.
AgentX has provided three blogs to help you with the setup. Continue reading for how to set up your branding in chat window.
Setup Guide For Configuring Branding
0️⃣ If you are already familiar with creating new AI agents on AgentX, jump right to the next step.
1️⃣ Navigate to the “Deploy” tab and enable “Website Embedding.” Then enable “Custom Branding” and add your own branding here.
2️⃣ Click “Save” and that’s it. If your AI agent is already live, the update will propagate automatically. Otherwise, visit here to deploy the AI agent chatbot to your website.
Conclusion
Thank you for using AgentX. Make sure to subscribe to our newsletter from homepage to receive product updates. If you have issues/want to talk about your business needs, chat with our AI agent Rosita or book a meeting with us.
Share Blog
Related blogs
